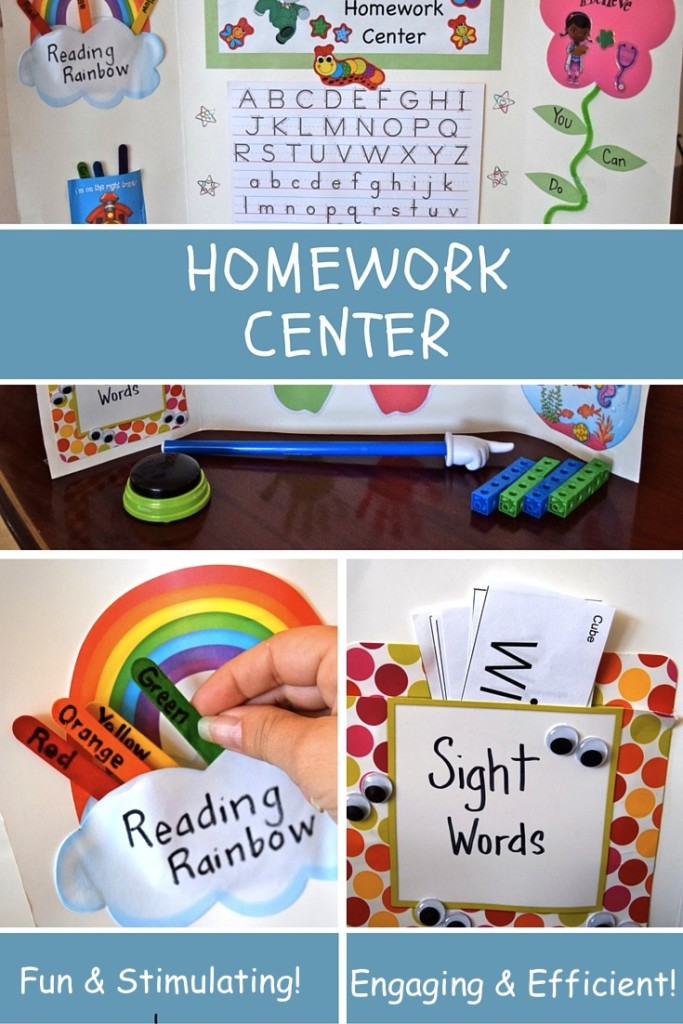
Nowadays, children start getting a pretty hefty load of homework beginning in Kindergarten. Children start their elementary school years learning how to write, spell, read, and add/subtract. It is a very exciting time in a child’s life, but it can also be an overwhelming one. Getting your child to sit still and concentrate on their homework can be challenging, so I created a fun, stimulating, and engaging Homework Center with all the bells and whistles (literally). I cannot stress how important it is for your child to start developing good study habits from the get-go, which is why creating a Homework Center is so important for your child. Be sure to get your child involved as much as possible when creating their Homework Center. The more they feel they contributed, the more willing they will be to use it and the more fun they will have when using it.
As you can tell from the actual Homework Center pictured below, I am a very organized person. I thrive on organization and I love having everything in its place. When things are organized for children, they are able to concentrate on the task better and become more efficient when completing their homework. The Homework Center has 11 sections, which I will discuss more in detail below.

1. Title
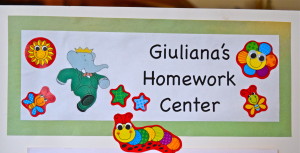 Give your Homework Center a title. Let your child decorate it with things they love. They can draw pictures around it or place stickers on it. Let your child get creative and have fun with this!
2. Alphabet and Number Reference
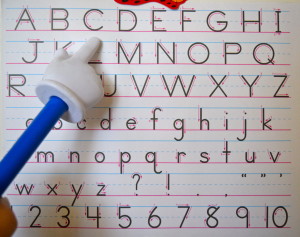 Your child will be doing a lot of writing. They will occasionally make a mistake and write a letter or number backwards, which is completely normal. They are still learning. The more they practice, the better they’ll get. If they are uncertain about the proper letter or number formation, having this reference front and center is great and also an excellent way for them to check their work. This particular handwriting style is called Zaner-Bloser. (If you Google “Zaner-Bloser Manuscript Handwriting,” there are plenty of reference charts you can download for free.)
3. Counting Fingers
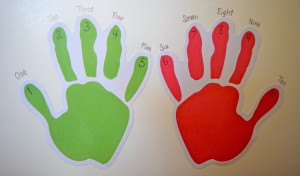 When children begin to count, they start by using their fingers. Each finger is numbered and the written word of the number is directly above the cresponding finger. By seeing both the actual number and the number spelled out, your child will learn how to spell numbers 1 through 10. By seeing the words so frequently, they will ultimately become Sight Words for your child (words your child will recognize by sight). A fun way to incorporate the Counting Fingers section is to actually trace your child’s hands onto the Homework Center and color them in or have your child make their own handprints with Crayola Fingerpaint. (Don’t worry, Moms and Dads! It’s completely washable!)
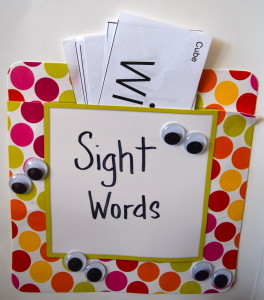 Your child is going to learn so many Sight Words! The best way to learn them is by writing them on flash cards or small pieces of paper. Learning about six Sight Words per week is ideal, so be sure to replace the pocket with new Sight Words each week. Don’t forget to occasionally review the previously learned Sight Words as well. Get creative with the pocket! It is a lot of fun for children to have a pocket to slip their Sight Words in and out of. Be sure to add the Peel and Stick Googly Eyes to the pocket for some silliness! Kids love silliness!
5. Colors of the Reading Rainbow
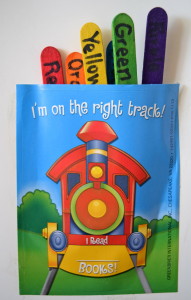 The Reading Rainbow is coming up (#6). This is simply another pocket to hold the colors of the Reading Rainbow. Six popsicle sticks (Red, orange, yellow, green, blue, and purple) will be held in this pocket at the beginning of every week. On one side of the stick, spell out the word of the color. (Ex. Write “red” on the red popsicle stick) For an added lesson on colors, write down the number that the color appears in the rainbow on the other end of the stick. (Ex. Write “1” on the red popsicle stick) Your child will learn the correct color formation of the rainbow. (In case you don’t know it, Moms and Dads, the order is
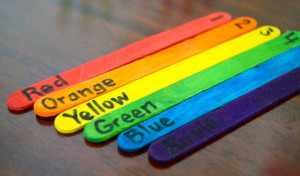 : Red, orange, yellow, green, blue, purple.) You can buy 100 Multi-Colored Wooden Craft Sticks and use the extra for arts and crafts projects. (The possibilities with colorful popsicle sticks are endless!)
6. Reading Rainbow
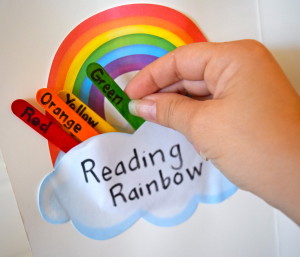 Your child is going to read, read, read! Every time they read a book, they will place a color of the rainbow (popsicle stick from #5) in the rainbow pocket. They will know the order of the colors of the rainbow by looking at the number on the popsicle stick. This not only teaches them the correct color order of a rainbow, it teaches them about ordinal numbers. (Ex. Orange is the second color of the rainbow.) Once your child has read six books, which is the goal of the week), he or she will have created a Reading Rainbow! (I found the rainbow cutouts at The Dollar Tree. To make the pocket, I simply cut the rainbow off of one cutout, leaving just the cloud. Then I glued the bottom and sides of the top cloud to the bottom cloud.)
7. Goals
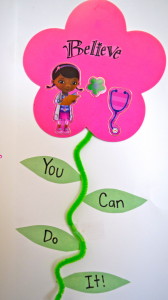 Ask your child what they want to be when they grow up. To reach that goal, let your child know that they must try their best and as long as they do, they will be able to reach that goal. Again, feel free to get creative with this section and don’t forget to let your child help out. In this particular student’s case, she wants to be a doctor and she loves flowers, so we personalized her goal with a flower and Doc McStuffins stickers. We also included positive messages, like “Believe” and “You Can Do It!”
8. Rewards Chart
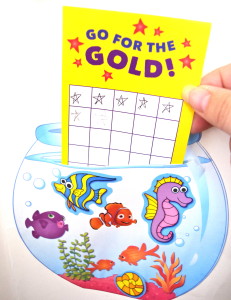 Children love rewards! Whether they are stickers, candy, or a small toy, be sure to set up a rewards system for your child. After your child completes their homework every day, draw a star in one of the boxes. If your child loves stickers, they can place a small sticker in the box as an alternative. Your child will enjoy seeing their stars or stickers accumulate and once your child fills up their rewards chart, reward them with a special prize. I found the small rewards charts at The Dollar Tree, as well as the fish tank cutout for the pocket. Cute, huh?
9. Buzzer
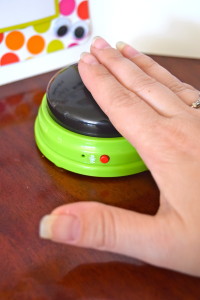 These are so awesome and fun! These are buzzers that your child can record something on. I cannot stress how much children love to be silly, so either you or your child can record a silly sound. (My daughter recorded herself saying, “Scoobadydoodabunzies!” I know. Silly. But it made doing her homework fun for her.) When your child knows the correct answer while doing their homework, they hit the buzzer and hear the sound they recorded. It makes them feel like they are playing a game and they get a kick out of hearing the sound. The buzzer can be re-recorded too if they would like to hear a new sound. I bought a multi-colored four pack of the Learning Resources Recordable Answer Buzzers in case my daughter wanted a change of color.
10. Pointer
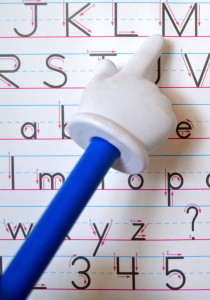 These are great for children who enjoy some movement. When your child is referring to the Alphabet and Number Reference (#2), they might lose their spot. Using a pointer will help with this and keep them focused. I noticed that children also love to use pointers, because it makes them feel like a teacher at school. I bought a multi-colored three pack of the Learning Resources 24-Inch Hand Pointers in case my daughter wanted a change of color.
11. Counters
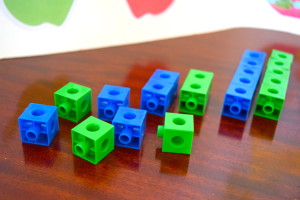 When doing their math homework, children find it easier to use counters. This is especially useful when your child begins to do word problems. By using counters, your child has a visual. Counters are also a great learning tool for children who learn hands-on and/or tend to fidget. There are many different types of counters available, but I chose to use a set of 100 Learning Resources Mathlink Cubes. I like them, because they come in 10 different types of colors and also because they can connect to one another. This is fantastic for when your child needs to count by 5’s, 10’s, or 20’s, etc.


